

How To Make Replacement Gouge Handles

Recently I purchased a couple of secondhand carving gouges to add to my collection. The gouges themselves were fine, but I was disappointed with the handles. They felt short, they were round, and they rolled on my bench. I noticed the sweep was no longer stamped on the blade, something tool manufacturers stopped doing years ago. Also, the number that had been stamped on the handle had worn over time to the point where I could no longer identify the sweep or size, which often left me searching for the right gouge. It was time to stop searching and start making new handles.

Identify the sweep
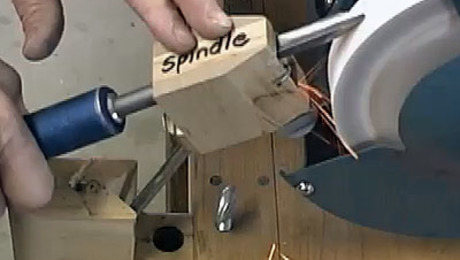
The sweep of a gouge refers to the curvature of the blade. It ranges from #1, which is flat, to #10, which is a semicircle. Above #10 you start to get into V-shaped or veining tools. At times it can be confusing to identify the sweep. I printed out an illustrated chart from Chris Pye’s Woodcarving Tools, Materials, and Equipment that has every width and sweep, and it now hangs in my shop. When I have an unknown tool, I hold it up to the chart and can easily identify correlating numbers, which I then stamp onto the new handle. But first I need to shed the old one.

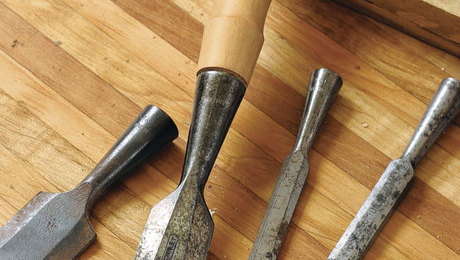
Removing the old handle is simple. I start by securing the blade of the gouge in a shopmade tool clamp with just the handle protruding. With a wide chisel and mallet, I split the handle by setting the blade of the chisel parallel with the grain on the butt of the handle and giving it a good whack with the mallet. The handle should split around the tang of the blade. I make sure not to use my favorite chisel in case it hits the metal tang hidden within.

A handle shaped by history
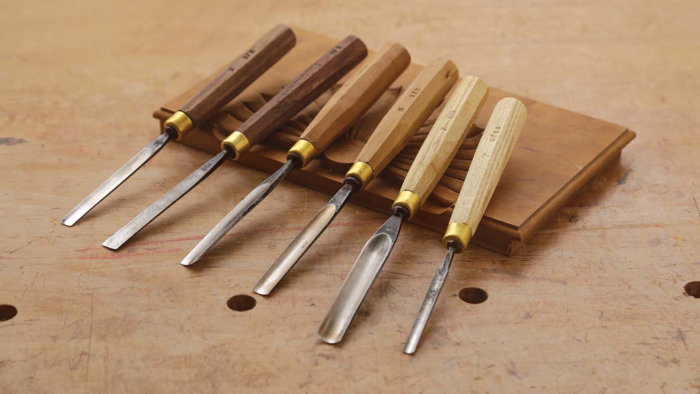
I make all of my handles the same as the one on my Herring Bros. veining tool. The handle is a tapered octagon that is the perfect length to balance the weight of the blade. It is flat on the top end to accommodate the use of a mallet and has a ferrule where the blade meets the handle. If it’s the original handle, which I think it is, it has lasted over a hundred years.
When considering a new handle, I look to my scrap box. There are many suitable species, including walnut, mahogany, apple, cherry, ash, oak, maple, beech, and even hawthorn (thanks to a windstorm a couple of years ago). While a new set of uniform handles from the same material would look nice, I wanted to make use of the mix of materials I have on hand. I designated particular species to different sweeps, making them easily identifiable. For this handle, I’m using an offcut of English walnut that has a very pale-tannish hue.

A delicate balance
The handle must be long enough to allow a second hand to steady the tool, but not so long as to throw off the balance. By trial and error, I found 6-1/2 in. to be an appropriate length for the wider and heavier blades—that is, ones around 3/4 in. to 1 in. wide. For blade widths of 1/2 in. to 5/8 in., I shorten the handle to 6 in. For anything narrower, I take it down to 5-1/2 in. I also accommodate the thickness of the handle to the width of the blade—1 in. thick for wider blades, down to 13/16 in. for my smallest. Considering all the variables, taking these steps to balance a tool may seem like overkill—until you use it.
Bill Howes is a retired neurosurgeon who enjoys woodworking in Halifax, Nova Scotia.
To view the entire article, please click the View PDF button below.

Dreaming Up a Solution
Jig for Sharpening Gouges
Get a Handle on Your Chisels
Fine Woodworking Recommended Products
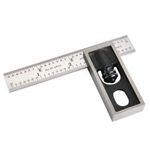
Starrett 4″ Double Square
Head is easy to remove, replace, and lock down; narrowest blade, at 5⁄8 in., made it easier to fit into tight places; hard to read under bright lights.

Veritas Micro-Adjust Wheel Marking Gauge
The adjuster runs through the beam from a small knob at the back end right to the cutting wheel, which moves in and out as you turn the knob. This arrangement works well but makes adjustments a two-handed operation, requiring a little more effort.
Starrett 12-in. combination square
This accurate, robust, well-machined, easy-to-read combo square is as great as ever.
Sign up for eletters today and get the latest techniques and how-to from Fine Woodworking, plus special offers.
Download FREE PDF
when you enter your email address below.
View PDF