

Turn a Classic Rolling Pin

Early in my career, when I was working as a production turner at the furniture workshop of Charles Shackleton in Bridgewater, Vt., I would gather cherry, maple, and walnut offcuts from the furniture shop and then turn rolling pins by the score. That experience locked in the foundational turning skills for me, and I continue to find pleasure today in turning this straightforward, beautifully utilitarian form.
For the pin shown here, I chose figured maple stock, 3 in. square and 21 in. long. I love a wonderfully figured piece of wood, but I keep in mind—especially when making items that will see regular handling—that pleasing proportions and well-placed details will in time greatly outweigh even spectacular figure and color, which inevitably wear and fade.
Take Measure of a Rolling Pin

A Cylinder between Centers – Roughing the Blank
With the lathe spinning at 1,800 to 2,000 rpm, use a 3⁄4-in. bowl gouge to knock the corners off the blank and turn a rough cylinder.

Progress Check
Press the back of the gouge on the spinning blank to gauge your progress toward a cylinder. Any remaining flat spots will be felt in the hand and will be audible as ticking.

Establish the Pin’s Diameter
With calipers and a parting tool, make a series of relief cuts to the full diameter of the pin.

Measuring by Hand
After marking 1⁄2 in. of waste at each end of the cylinder, use your hand to find a comfortable size for the handle. Then add about 1⁄2 in. of extra width.

Handle Transfer
Use dividers to transfer the width you’ve established for the handle from the pin’s tailstock end to its headstock end.

Find the Handle’s Neck
Using a parting tool, make one cut at the end of the pin and another at the narrowest point of the handle.

Turn the Handles
Gouge sets the terrain. After widening the parting tool’s relief cut with a skew chisel, make sweeping cuts down toward the handle’s neck with a 1⁄2-in. detail spindle gouge.

Roll the Convex Curve
Use the 1⁄2-in. detail gouge to begin creating the knob—the rounded end of the handle.

Smoothing with the Skew
Carefully wielded, the 1⁄2-in. skew can smooth the concave sweep of the handle.

Finesse the Curves
The skew returns to finish up the convex curves at the end of the knob.

Stepped and Sloped
A fillet at each end defines the business section of the rolling pin. A 1⁄2-in. skew chisel defines the detail. Cut a 1⁄8-in. by 1⁄8-in. step, and give it a sloped shoulder.

Duplication
Use calipers and a parting tool to transfer the handle’s various transition points to the other end of the pin. Then repeat the shaping steps.


Finishing Up – Smooth and Shine
With the pin spinning at 600 to 800 rpm, sand the final surface, going up through the grits from 220 to 320 and 400. Skip the fillet to keep that detail crisp.

Then apply a coat of food-safe mineral oil with a lint-free rag.

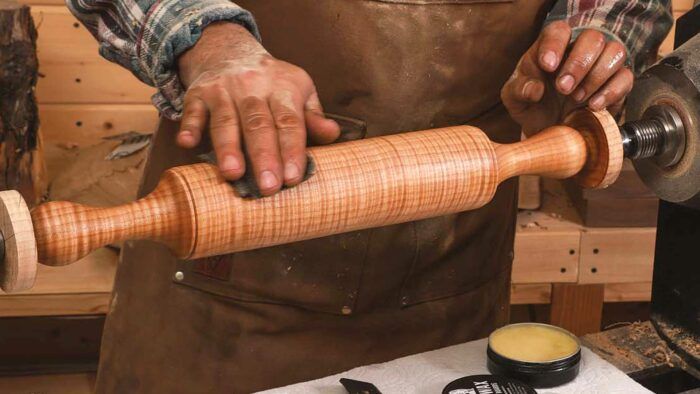
Wax at Last
With the lathe turning slowly, apply a coat of wax with a fine-grit abrasive pad. Then buff to a fine sheen with a lint-free rag.

Off with its End
With the lathe turned off, saw through the pin, leaving just a little waste on the end of the knob.

Nice Ending
Mount a small hook-and-loop sanding disk holder in the four-jaw chuck, and round over the end of the knob with 220-grit paper. Follow that with 320- and 400-grit paper, then apply oil and wax to the sanded area.


Matt Monaco lives in Kansas City, Mo., and teaches turning across the country.
To view the entire article, please click the View PDF button below.

Introduction: Woodturning Basics

How to Turn a Pepper Grinder
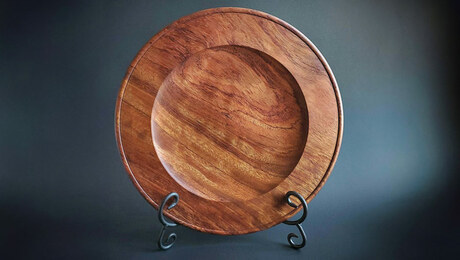
How to Turn a Serving Dish
Sign up for eletters today and get the latest techniques and how-to from Fine Woodworking, plus special offers.
Download FREE PDF
when you enter your email address below.
View PDF